Hazard perception in stage three
Find out how your learner will continue to develop their hazard perception skills in stage three.
In this topic
Hazards in stage three
Recap of see, think, do
Managing hazards in stage three
Safe following distances and the safety bubble
Examples of how to use see, think and do
Hidden hazards in stage three
How your learner will get better at hazard perception

Hazards in stage three
In stages one and two, you helped your learner a lot in looking for potential hazards on drives.
As they gain more experience in stage three, they’ll see more hazards and respond to them with less support from you.
Make sure you still talk with your learner about hazards they see and how they plan to respond.
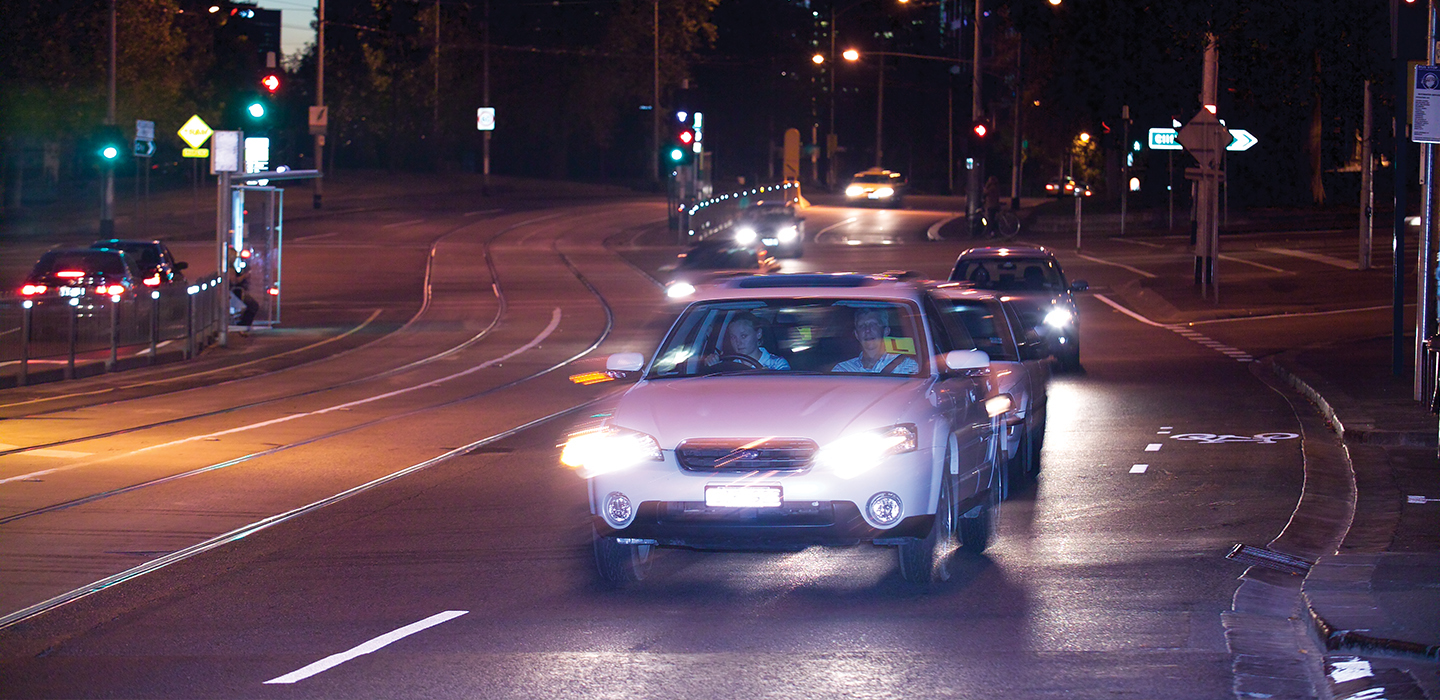
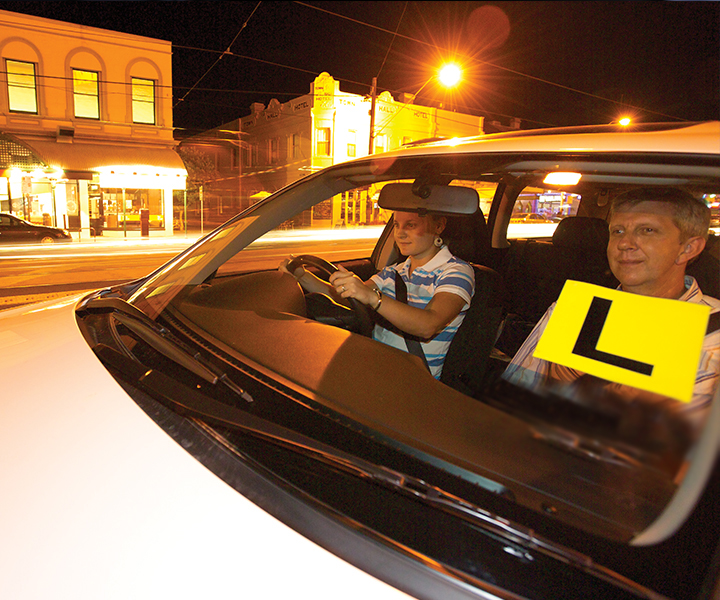
Near the end of stage three they’ll be driving in more complex situations, such as main roads, busy traffic and difficult conditions.
So make sure they always practise the three parts of hazard perception: see, think and do.

Recap of see, think, do
Developing good hazard perception skills is a key part of becoming a safe driver, but it takes time and experience.
In stage three, your learner will continue to develop their hazard perception skills to:
- See: look around for potential hazards to know what’s happening or has changed as they drive.
- Think: think about how a hazard may affect them and other road users to assess the risk it poses and what may happen to work out the safest response.
- Do: take control of the situation by slowing down and creating a safe space between their vehicle and the hazard.
Managing hazards in stage three
To help your learner manage hazards in stage three, you can:
- Encourage them to drive slower in new situations, so they have more time to see and respond to hazards.
- Plan for what’s coming up ahead of them.
- Use their mirrors and do head checks, in case hazards are in their blind spot.
- Slow down and make extra space from other road users, such as people walking, bike riders and motorcyclists.
- Avoid driving in the blind spot of other vehicles.
- Keep a safe following distance and leave enough space around their vehicle.

The safety bubble
In stage two, your learner started to develop their skills in keeping a safe following distance and safety bubble.
These are important skills to keep developing in stage three to help manage hazards safely.

See
When your learner sees:
People walking.
Think
The people walking may:Cross the road in front of their vehicle.
Do
So your learner can:
Give them extra space.
Slow down and be ready to stop.


Unexpected hazards in stage three
Hazards can sometimes be unexpected or less obvious, so your learner needs to look for things that may hide the hazards.
As your learner will be driving in more complex situations in this stage, make sure they’re always practising their hazard perception of see, think and do.
Some examples of things that hide hazards are:
- Heavy vehicles, as they can make it hard to see what’s around them.
- Parked vehicles, as people walking may cross the road from behind them.
- Buildings and fences, as they may make it hard to see what’s behind them.
- Trees and bushes, as they can limit your learner’s vision.
- Other vehicles, as bike riders or motorcyclists may move between them.
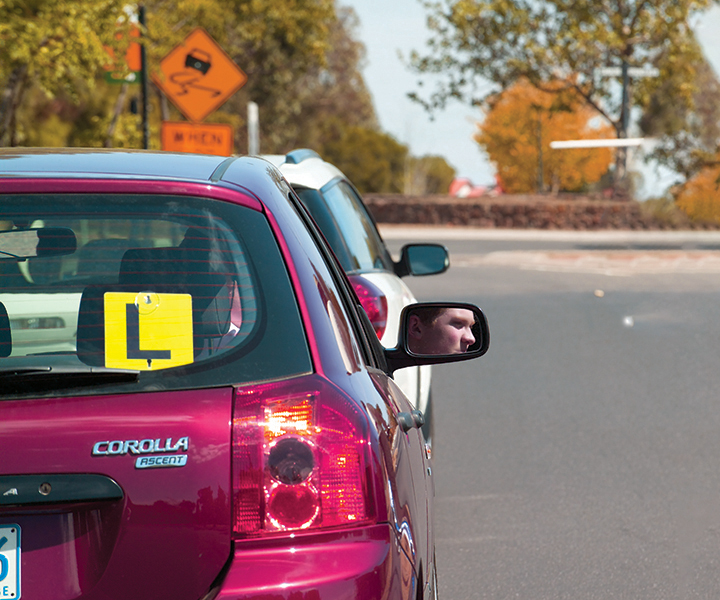
- Crests and curves, as your learner can’t see what’s ahead.
How to develop hazard perception skills
It can take years to develop good hazard perception skills.
The best way for your learner to get better at hazard perception is to get lots of on-road driving experience.
As your learner gains experience in a range of situations and environments, they’ll get better at seeing and responding to potential hazards.
On-road driving experience is the best way to help your learner improve their hazard perception, scanning and concentration skills.
Your learner can also practice their hazard perception skills with our online test.